Crochet Bunny Amigurumi
Amigurumi bunny free pattern that you can customize and download.
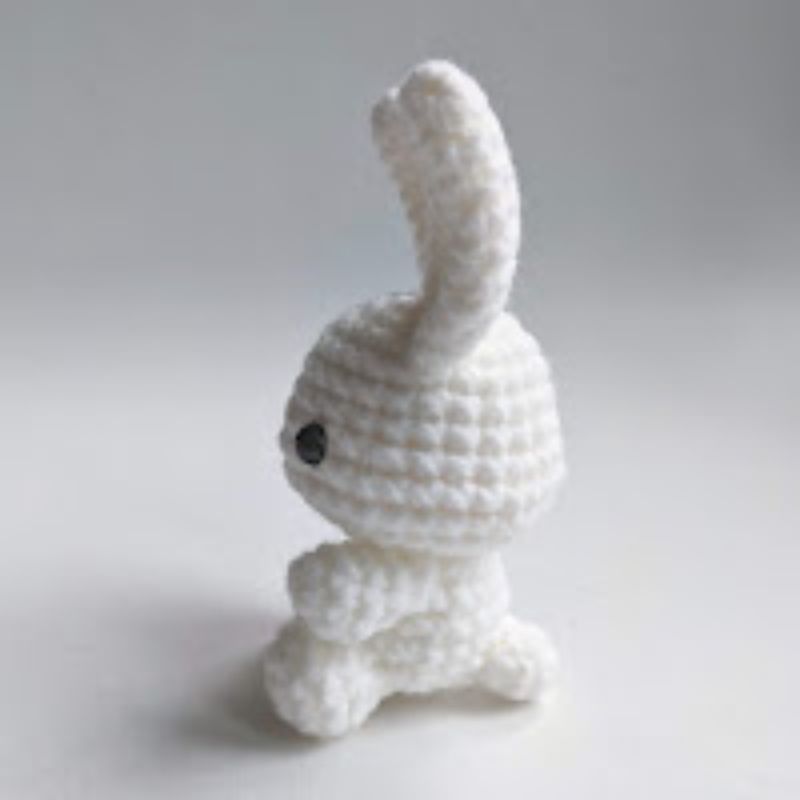
Make a crochet bunny! Crochet yourself a long-eared friend with this beginner-friendly bunny amigurumi pattern. This is a quick project since the components like arms and legs are small and require only a few rounds. If you are new to crocheting amigurumi, this amigurumi bunny free pattern gets you used to starting a magic ring and working in the round.
See the crochet bunny pattern below or customize your own bunny amigurumi pattern with colours as varied as real rabbits.

How to Crochet an Amigurumi Bunny
In this bunny crochet pattern, we work on assembling the head and the ears first. When crocheting the head, there is a round that instructs to place a marker (use a strand of yarn or stitch marker) in the middle of the round that will help determining where the safety eyes should be and location of the nose. Once the head is attached to the body, the arms can be easily positioned and sewn onto the sides of the body. The feet are sewn onto the crochet bunny in a sitting position and the bunny is stabilized with the tail sewn on the back.

Amigurumi Bunny Pattern Tips
One of the most difficult parts of crocheting an amigurumi bunny is sewing the pieces together. When I am sewing to attach pieces together, I position the pieces and then secure them with sewing pins. This makes it easier to visualize where the pieces should go and is less fiddly than having to hold a piece down with your finger while also trying to sew it.

Customize an Amigurumi Bunny Pattern
You can use the Amigurumio builder to customize a crochet bunny with new colours, or change up the sizes the ears or limbs. Then download a PDF crochet bunny pattern with your all of your personalizations.
- Change the colors
- Use different pieces
- Download a free PDF
Customize your crochet bunny crochet pattern with Amigurumio.


Bunny Pattern Crochet
The crochet bunny pattern uses white yarn for all of the pieces and a little bit of pink yarn is used to embroider the nose. The yarn used is a medium/worsted weight yarn and when worked with a 4.0 mm hook, the stitches should be tight so that the stuffing doesn’t show behind the fabric. When sewing the amigurumi bunny pieces together, use sewing pins to position and hold the pieces down to make things easier.
If this is your first amigurumi bunny and you have little experience with making the magic ring, you can watch the video below. Practice makes perfect!
Materials and Yarn for Amigurumi Bunnny Free Pattern
Yarn Color
- Pink (P)
- White (W)

Materials
- Medium/worsted weight yarn
- 4.0 mm hook
- Scissors, yarn needle
- Stitch marker
- Polyester fibrefill
- Two 8.0 mm safety eyes
Head
Use white (W) yarn.
R1 With W, sc 6 in magic ring (6)
R2 inc in each st around (12)
R3 (sc 1, inc) six times (18)
R4 (sc 2, inc) six times (24)
R5-7 sc in each st around (24)
R8 (sc 3, inc) three times, place marker, (sc 3, inc) three times (30)
R9-10 sc in each st around (30)
R11 (sc 3, dec) six times (24)
R12 (sc 2, dec) six times (18)
R13 (sc 1, dec) six times (12)
Insert safety eyes below R9, and three stitches on each side of the marker.
R14 dec six times (6)
Finish with a sl st into the next stitch. Cut a short yarn tail for sewing.
Cut a small (5 cm) strand of pink yarn and embroider a nose between the eyes. Stuff the head and then sew the opening closed.
Ear (Make 2)
Use white (W) yarn.
R1 sc 6 in magic ring (6)
R2 (sc 1, inc) three times (9)
R3 sc in each st around (9)
R4 (sc 2, inc) three times (12)
R5 sc in each st around (12)
R6 (sc 5, inc) two times (14)
R7 sc in each st around (14)
R8 (sc 5, dec) two times (12)
R9 sc in each st around (12)
R10 (sc 4, dec) two times (10)
Finish with a sl st into the next stitch. Cut a long yarn tail for sewing.
Sew the ears to the head.


Body
Use white (W) yarn.
R1 With W, sc 6 in magic ring (6)
R2 inc in each st around (12)
R3 (sc 1, inc) six times (18)
R4 (sc 8, inc) two times (20)
R5-6 sc in each st around (20)
R7 (sc 3, dec) four times (16)
R8 sc in each st around (16)
R9 (sc 2, dec) four times (12)
Finish with a sl st into the next stitch. Cut a long yarn tail for sewing.
Stuff the body and sew the body to the head.
Arm (Make 2)
Use white (W) yarn.
R1 With W, sc 6 in magic ring (6)
R2 (sc 2, inc) two times (8)
R3 sc in each st around (8)
R4 sc 6, dec (7)
R5 sc 5, dec (6)
Finish with a sl st into the next stitch. Cut a long yarn tail for sewing.
Stuff the arm and sew the arm to the body.
Foot (Make 2)
Use white (W) yarn.
R1 sc 6 in magic ring (6)
R (inc, inc, sc 1) two times (10)
R3 sc in each st around (10)
R4 sc 3, dec, dec, sc 3 (8)
R5 sc in each st around (8)
Finish with a sl st into the next stitch. Cut a long yarn tail for sewing.
Stuff the foot and sew the foot to the body.
Tail
Use white (W) yarn.
R1 With W, sc 6 in magic ring (6)
R2 (sc 2, inc) two times (8)
R3 (sc 2, dec) two times (6)
Finish with a sl st into the next st. Cut a long yarn tail for sewing.
Stuff the tail and sew the tail to the body.

Customize a Crochet Bunny Pattern
If you would like to change the colors of this amigurumi bunny pattern or change the sizes of the ears, you can customize this crochet bunny using Amigurumio. You will be able to change the colors and generate a PDF crochet bunny pattern.
Change the Colours
Select the yarn colors for your amigurumi bunny pattern.
Change the Pieces
Try a different body size for your crochet bunnny or choose new ears.
Download a PDF
Get a free PDF with the amigurumi bunnny instructions and your customized pattern.
8 Comments
Submit a Comment

Not enough time to design your own pattern?
Download a premium amigurumi pattern for free.
You can unsubscribe at any time from receiving free crochet patterns. See our privacy policy.
Confused about the directions for the leg. Says to increase in each 6 stitches. Says you should have a total of ten stitches . Shouldn’t this be twelve stitches?
Row 2 is (Inc, Inc, sc1) which calculates to 10 as you are only increasing in 4 stitches, not increase in all 6.
love this pattern. so easy to make a beautiful bunny for a small child. thanks and keep up the good work on patterns
I love this pattern, quick, easy and enjoyable to make. Thank you
Love this pattern. I hope their will be other patterns. ,Thank you
Love this pattern. Ii hope their will
be more
How do I print pattrrn
How do I get pattern